Rails をベースにした CMS も多く出ているが、Refinery CMS は既に Rails3 に対応しており、開発も活発に行われている。
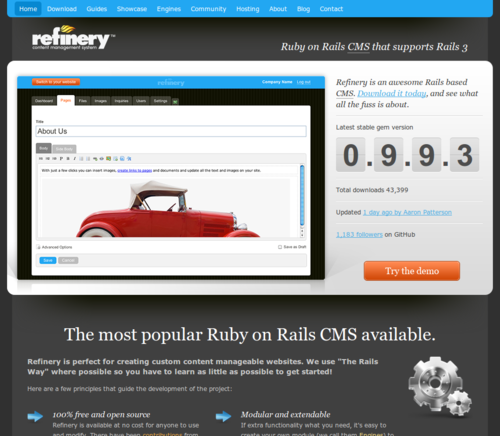
元となったアプリは 2004 年に作成され、しばらくクローズドな状態で開発されていたようだが、Refinery CMS という名前に変更し、2009 年にオープンソースとしてリリースされている。
philosopy として、以下のような項目が挙げられている。
The Refinery philosophy includes several guiding principles:
- “The Rails Way” where possible - Refinery embraces conventions used in Rails, allowing any Rails programmer to leverage existing knowledge to get up and running quickly.
- End user focused interface - Refinery’s user interface is simple, bright and attractive so end users feel invited and not overwhelmed.
- Awesome developer tools - Refinery makes it easy for developers to add functionality and change the front end look and feel.
- Encourage and Help Others - Refinery has an active community on Google Groups and IRC. If you ever have a question there is someone able and willing to assist.
同じ Rails をベースにした同じような CMS に Radiant CMS がある。
これはこれで便利で好きなのだが、out-of-box のままエンドユーザがすぐに使い始め、運用していくには少々敷居の高いものとなっている。それを意識して(?)なのか、out-of-box で利用可能な点として以下の点を挙げている。
- Page management
Manage site structure. Edit content using a WYSIWYG editor.- Image and file management
Upload and insert images. Store and manage files. Use local storage or Amazon’s S3.- Contact form & inquiry management
Collect and manage inquiries from a contact form. Automatically filters spam.- User management
Set up multiple users and manage which areas they can access.- Plugins
Extend Refinery by creating Rails style engines using the engine generator.- Settings
Manage site settings such as your site name and Google Analytics tracking code.- I18n Translations English, Danish, German, Spanish, French, Italian, Dutch, Norwegian Bokmål, Portuguese and Slovenian.
ちょっと触った感じでは、エンドユーザにはより優しいインターフェイスの提供、開発者には CMS 独自の手法はなるべくおさえた拡張方法の提供を行おうとしている意図が感じられ、なかなか良い感じ。
ここでのメモは、Refinery v0.9.9.3 をベースにしている。
Table of Contents
Open Table of Contents
インストール
基本は、以下の Getting Started に習った作業となる。
Refinary は RubyGems で提供されている。
bundler をいれていない場合にはまずは bundler。
$ sudo gem install bundlerRefinery CMS のインストール。
$ sudo gem install refinerycmsRefinery のプロジェクトを作成する。
$ refinerycms try-refinery上記の指定の場合、デフォルトの DB である SQLite が使用される。
上記の手順だけで、bundler による gem の依存関係の解決、DB のマイグレーション、なども勝手にやってくれ、アプリが起動できる状態になる。
プロジェクトのディレクトリに移動して、サーバを起動する。
$ cd try-refinery/
$ rails server
=> Booting WEBrick
=> Rails 3.0.4 application starting in development on http://0.0.0.0:3000
=> Call with -d to detach
=> Ctrl-C to shutdown server
[2011-02-24 10:52:00] INFO  WEBrick 1.3.1
[2011-02-24 10:52:00] INFO  ruby 1.8.7 (2010-01-10) [i486-linux]
[2011-02-24 10:52:05] INFO  WEBrick::HTTPServer#start: pid=7231 port=3000
ブラウザで http://localhost:3000/ にアクセスする。
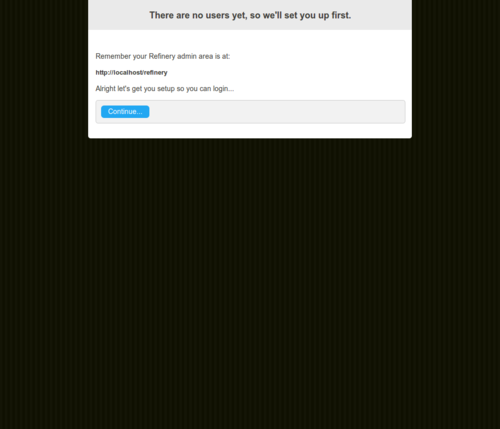
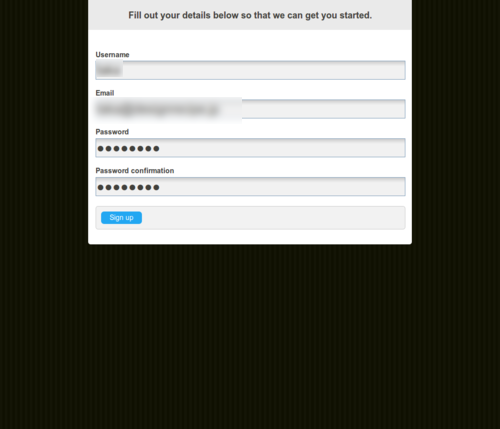
ユーザが作成されていないので、“Continue” をクリックしてまずはユーザの作成を行う。ここで作成を行うユーザは、スーパーユーザ(アプリの全ての権限を有する)になる。
管理画面のトップページが表示される。
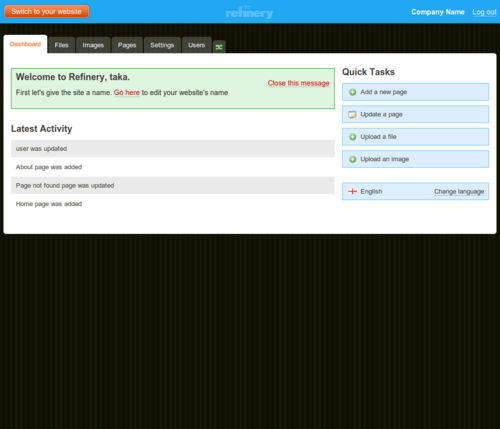
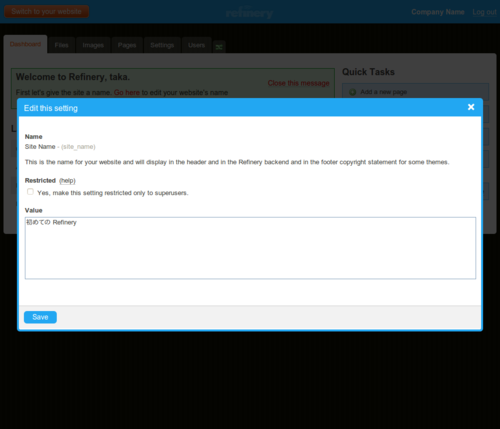
とりあえず、サイトの名前ぐらいは設定しておく。
First let’s give the site a name. Go here to edit your website’s name
の “Go here” をクリック。
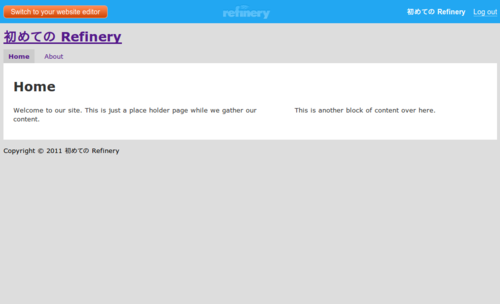
サイトの初期画面を確認してみる。
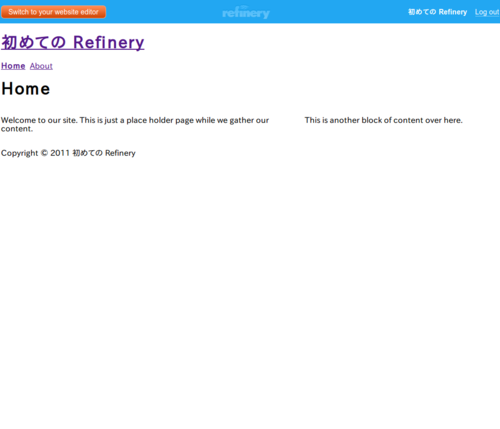
至ってシンプルな画面だ。。。
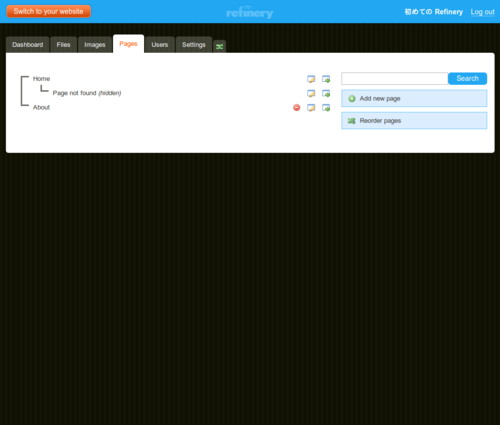
コンテンツは管理画面の “Pages” メニューから入って編集していく。
サイトのカスタマイズ
コンテンツの内容は管理画面から編集できるが、サイトのデザイン部分などは Rails の手法にそったかたちでカスタマイズしていく。
作成された Refinery のプロジェクトのディレクトリを見ると、ディレクトリ構成こそ Rails そのものなのだが、カスタマイズしようにも、app ディレクトリ配下は空となっている。
実体は refinerycms-pages、refinerycms-core gem におり、作成した自身の Refinery のプロジェクトをカスタマイズする場合には、Refinery が用意するデフォルトのものをオーバーライドする手法をとる。
ルーティングとコントローラ
利用者用の画面では、GET でリクエストされたページは、PagesController#show に流れるようにルーティングされている。
$ rake routes | grep ':controller=>"pages"'
  page GET    /pages/:id(.:format)                                      {:controller=>"pages", :action=>"show"}
  root        /(.:format)                                               {:controller=>"pages", :action=>"home"}
              /*path                                                    {:controller=>"pages", :action=>"show"}
以下のような routing 定義が書かれている。
GEM_PATH/gems/refinerycms-pages-0.9.9.3/config/routes.rb:
::Refinery::Application.routes.draw do
  get '/pages/:id', :to => 'pages#show', :as => :page
  ...
endrefinerycms-pages-0.9.9.3/lib/pages/marketable_routes.rb:
::Refinery::Application.routes.draw do
  match '*path' => 'pages#show'
end
受ける PagesController は以下の内容。
GEM_PATH/gems/refinerycms-pages-0.9.9.3/app/controllers/pages_controller.rb:
class PagesController < ApplicationController
  ...
  # This action can be accessed normally, or as nested pages.
  # Assuming a page named "mission" that is a child of "about",
  # you can access the pages with the following URLs:
  #
  #   GET /pages/about
  #   GET /about
  #
  #   GET /pages/mission
  #   GET /about/mission
  #
  def show
    @page = Page.find("#{params[:path]}/#{params[:id]}".split('/').last)

    if @page.try(:live?) || (refinery_user? && current_user.authorized_plugins.include?("refinery_pages"))
      # if the admin wants this to be a "placeholder" page which goes to its first child, go to that instead.
      if @page.skip_to_first_child && (first_live_child = @page.children.order('lft ASC').where(:draft=>false).first).present?
        redirect_to first_live_child.url
      end
    else
      error_404
    end
  end

end
view をオーバライドする
view のカスタマイズは、Refinery が標準で持っている view をオーバーライドしていく。
Refinery が用意している rake タスクを利用する。
$ rake -T | grep refinery:
rake refinery:cache:clear               # Eliminate existing cache files for javascript and stylesheet resources in default directories
rake refinery:override                  # Override files for use in an application
rake refinery:uncrudify                 # Un-crudify a method on a controller that uses crudify
rake refinery:update                    # Update the core files with the gem
上記の refinery:override タスクを使用すれば、自身の Refinery アプリに変更する view のソースをコピーしてくれる。
$ rake refinery:override view=pages/show
(in /home/taka/Dropbox/work/try-refinery)
Copied view template file to app/views/pages/show.html.erb
app/views 配下に pages ディレクトリが作成され、show.html.erb が現れる。中身を確認してみる。
RAIS_ROOT/app/views/pages/show.html.erb:
<%= render :partial => "/shared/content_page" %>デフォルトでは、Refinery は /shared/content_page パーシャルを使用しているようだ。
Refiney では、view から @page インスタンス変数にアクセスでき、Page の内容を取得できる。試しに先ほどの show.html.erb を以下の内容に書き換える。
RAIS_ROOT/app/views/pages/show.html.erb:
<%=raw @page[:body] %>
<%=raw @page[:side_body] %>
サイトを確認してみるとこれまでの表示と変わっていないことが確認できる。
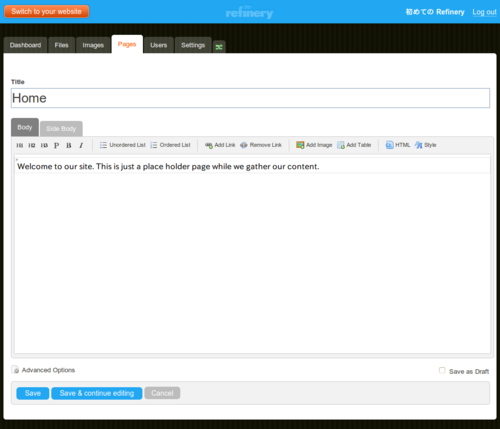
Page は、PageParts と関連しており、親子関係にある。上記でハッシュのキーに指定した :body、:side_body は表示している Page の子の PageParts の内容となる。管理画面と見比べるとどう連携しているのかわかる。
上記は、トップ画面となっている “Home” のページの編集画面を開いているが、コンテンツのタブに”Body”と”Side Body”がある。これらのタブで記載された内容に先ほどのソースはアクセスしている。
このあたりの設計は、Radiant CMS に似ている。
デザインを変更する
デザインを変更してみる。この作業は Refinery 独特のものはない。Rails で開発する場合と同様のやり方となる。
RAIS_ROOT/public/stylesheets/application.css を開いて、内容を編集する。
/*
  Override default refinery application CSS below.
  Formatting applies to all frontend.
*/

@import url("refinery/application.css");

body {
  background: #ddd;
  font-family: Verdana;
  font-size: 13px;
  line-height: 18px;
}

#body_content {
  background: white;
  color: #333;
  padding: 20px;
}

#body_content_left {
  width: 500px;
}

#menu ul {
  list-style: none;
  padding: 0px;
}

#menu ul li {
  float: left;
  margin-right: 10px;
}

#menu ul li a {
  display: block;
  padding: 5px 10px;
  text-decoration: none;
}

#menu ul li.selected a,
#menu ul li a:hover {
  background: #ccc;
}
体裁はともかく、通常の Rails でのやり方と特に変わったことはないことがわかる。
感想
Radiant CMS は、意識してという訳ではないだろうが、どちらかと言うと開発者向けの CMS であるのに対して、Refinery CMS はエンドユーザが容易に使い始められ、運用できることを意識したものであるように感じた。
デフォルトの機能で足りない場合には、Radiant CMS でいう extension のように、機能拡張する方法も用意している。 Refinery CMS では、“Engine” と呼んでいるようで、幾つかの Engine が公開されている。
philosophy にもあったように、なるべく独自の手法は避け、通常の Rails の知識がそのまま使えるような仕組みとしており、開発者の学習コストを下げる狙いがある。
Radiant CMS の特徴である Radius Tag のようなものは今見ている限りは無いようだ。あれはあれで便利なのだが、エンドユーザに使ってもらうには敷居が高かったのと、拡張した時にソースとコンテンツの中身の依存が強すぎてメンテにちょっと苦労するところはある。
既に Rails3 に対応している点も心強く、バランスのとれた設計になっているのでちょっと使ってみようと思う。